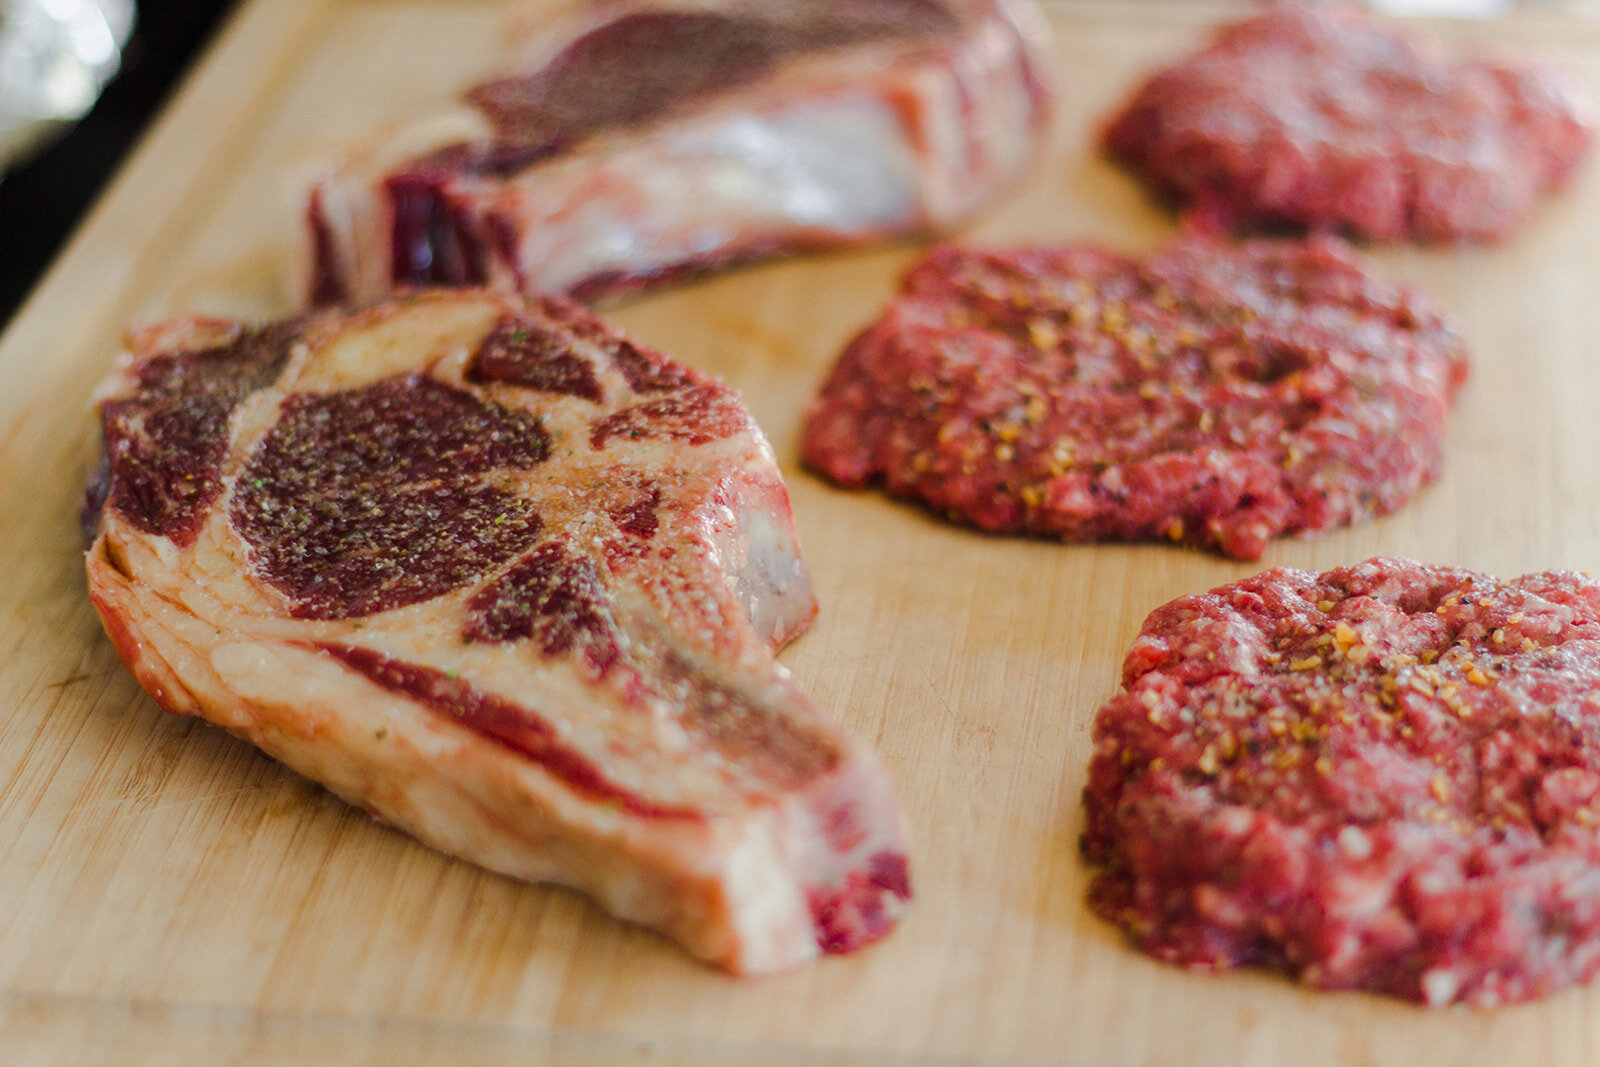
A Rancher’s Guide to Cooking Steak
A step by step guide from Grady
I love everything about ranching. A great occupation got even better when testing our steaks became part of my job. I spell out my method for steak below, but it does not extend to grilling brisket, tri-tip, ribs etc. A couple years ago I tried to grill some short ribs and all but burned the house down. For advice beyond steak, check in with our friends at Colorado BBQ Outfitters. Don can set you up with supplies and knowledge.
Steps to grilling the best steak:
Purchase Rancho Largo wild beef. My last journal entry gives details on how terpene molecules derived from a diet of wild plants add flavor to our meat. You’ll also learn that slow twitch muscle genetics mean there are fat molecules in the muscle. Those fat molecules also add flavor and tenderness.
Thaw steak to room temperature. Never cook cold or partially frozen steak.
Dry the steak with a paper towel before cooking. I learned this from the book Steak by Mark Schatzker. He claims that moist steaks don’t form a good crust full of umami flavor on the outside and he’s right.
Choose your heat source. If you are a connoisseur, wood or charcoal can impart delicate flavors. I can’t usually fire the grill till 8 or 9 in the evening so I settle for the convenience of gas. There’s also nothing wrong with a pan-fried steak; I’m partial to a little butter in the pan but Lynda sticks with olive oil. As long as you follow step one any heat source will work.
Choose your temperature. Lower temperatures for thicker steaks like RibEye and New York cut to 1.25”. But you still need enough heat to crust the exterior. A little higher for our Sirloins and Flat Irons usually cut to 1”. Use higher heat yet for thin thinner cuts like Flank, Skirt, Round, or Sirloin tip. The higher heat for a short time will sear the exterior without scorching the middle.
6. a) Standard Method- Salt and pepper to taste; salt one side and place it face down on the grill then salt the other side. Anything is better than iodized table salt but it works if that is all you have.
b) Grady’s Method- 30 years back I spent some time in the mountains of Argentina with a vaquero. We pretty much lived on goat meat for a month at a time. Santos carried a little bag of rock salt and he would smother the meat in salt until it was white before putting it over the coals. The first time I watched this process I expected inedible meat. Instead, the meat came off the fire with a seared/glazed exterior and a juicy tender interior. Santos explained that the salt glazes the exterior and locks in juices. Upon returning home I tried the method with table salt and promptly ruined a good steak. I don’t know why, but coarse salt is key. I use Lowry’s garlic salt and do fine until it’s almost gone and the finer salt in the bottom can make a steak a little salty.
7. Figure out your preference for rare to well done. I’m a medium rare guy as long as the exterior is well seared. But don’t be ashamed of a well-done preference; the best beef I’ve ever eaten was well done in Argentina. Well done is not burnt. If it’s bitter it is burnt and your only choice is repeat step 1 and start over.
8. Prod, flip and flop your steak. Get a feel for how soft and floppy the raw cut is. This will vary with thickness. Turn your steak anywhere between 1 and 8 minutes depending on thickness and heat. When you turn the steak prod, flip and flop again. This will give you an idea if you're cooking too fast or too slow and you can adjust the heat. This can take time to get the hang of; little practice will help.
9. Watch for beads of red juice on the surface after flipping. Mark Schatzker says this means your steak is approaching medium rare and he’s right again. Use the prod, flip and flop test to decide when to exit the grill.
10. If you’re a believer, let your steak sit 5-10 minutes after it comes off the heat. I’m not a true believer but it’s important to know that steak will cook a little more after it comes off the grill.
Enjoy!
A note on flaming Rib Eyes:
Most butchers leave a layer of fat on the exterior of Rib Eyes and they often have a layer of fat part way in. That fat can flame up your grill especially with 3 or 4 steaks on board. If you have room cook Rib Eye over a burner that’s turned off with the burners on either side on to minimize flames. One can also trim the external fat. If you still retain prehistoric man’s craving for fat you can cook the fat after the steaks come off. Fat that is scorched but not burnt is nectar of the gods.


